Digital Fingertip Pulse Oximeter
Send Inquiry
PDF DownLoad
Product Introduction
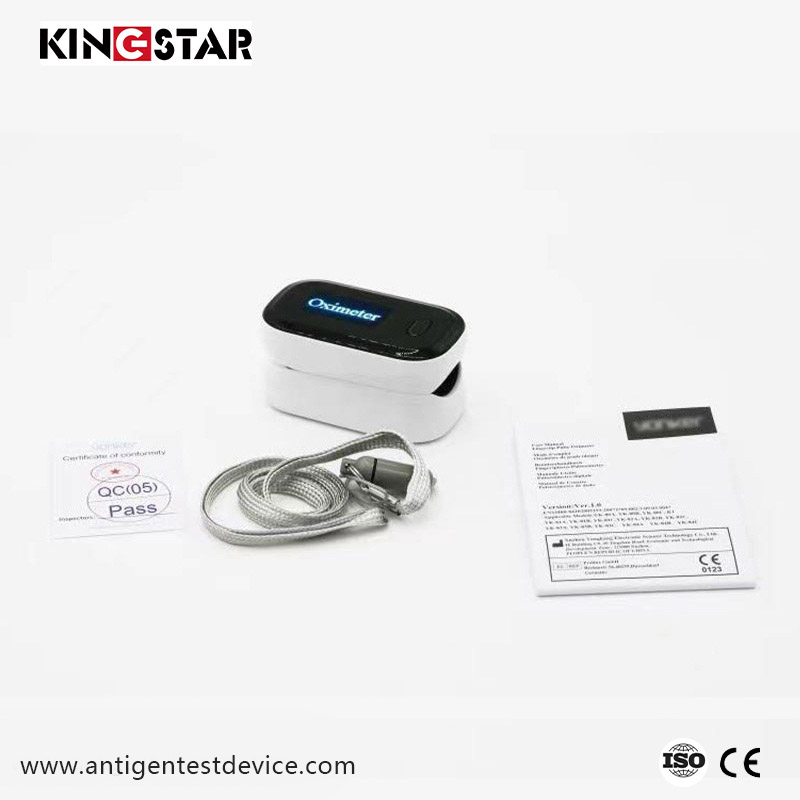
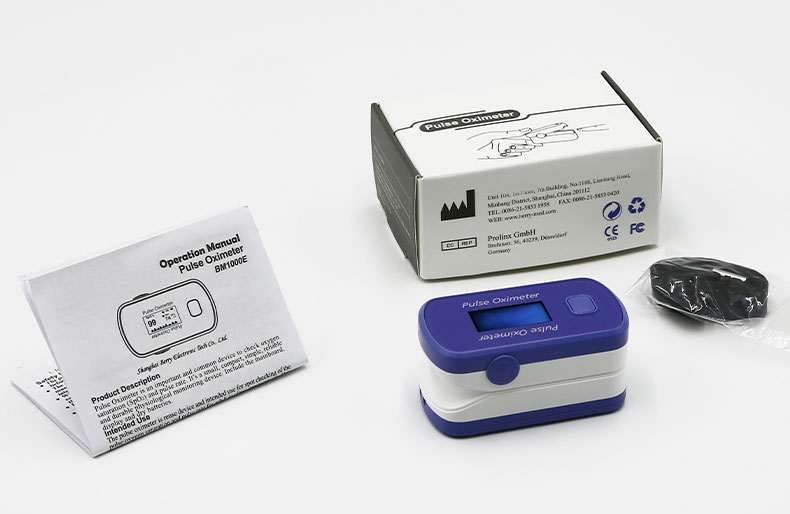
Using a digital Fingertip Pulse Oximeter, you can check pulse rates and blood oxygen saturation levels quickly. Digital screen allows us to read the data conveniently. Small size makes it portable.
Product Parameter (Specification)
|
Basic Information |
|
|
Power Supply |
two AAA 1.5V alkaline batteries |
|
Power Consumption |
smaller than 50mAh |
|
Automatically Power-off |
The product automatically shuts off when no signal can be detected within 10 seconds |
|
Dimension |
Approx. 63mm×34mm×30mm |
|
SPO2 |
|
|
Measurement range |
35%~100% |
|
Accuracy |
±2%(80%~100%);±3%(70%~79%) |
|
PR |
|
|
Measurement range |
25~250BPM |
|
Accuracy |
±2BPM |
|
Operation Environment |
|
|
Operation Temperature |
5℃~40℃ |
|
Storage Temperature |
-10℃~50℃ |
|
Operation Humidity |
15%~80% |
|
Storage Humidity |
10%~90% |
|
Operation Air Pressure |
86kPa~106kPa |
|
Storage Air Pressure |
70kPa~106kPa |
Product Feature and Application
Digital Fingertip Pulse Oximeter is an easy read medical device with colorful TFT screen.
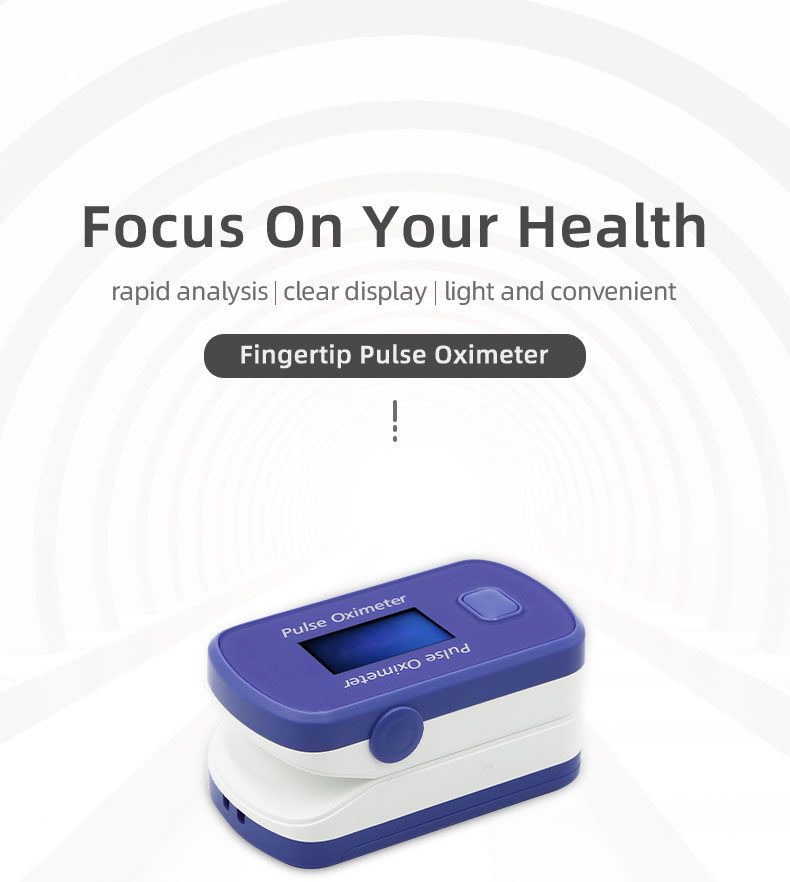
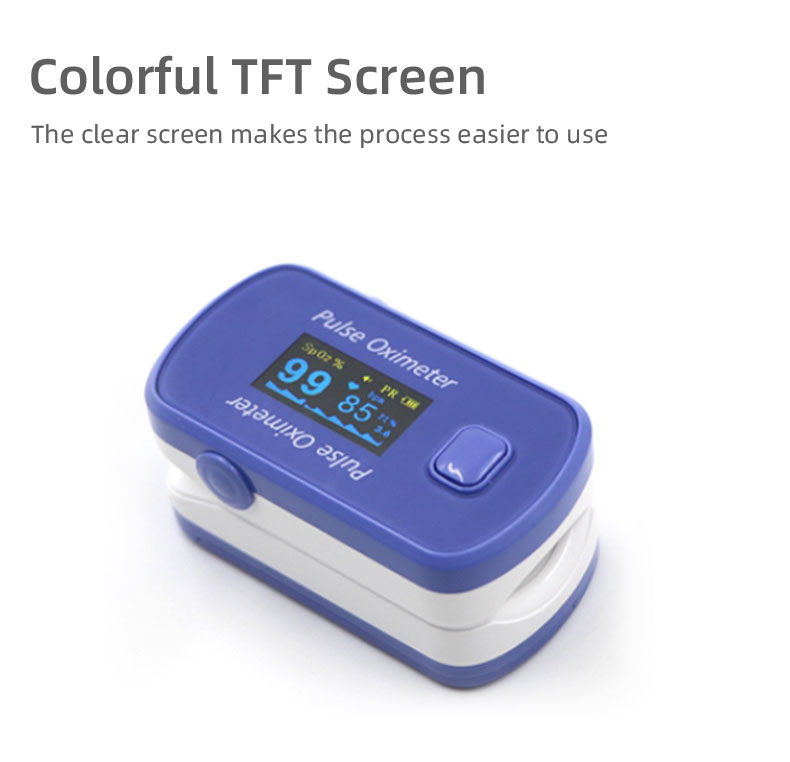
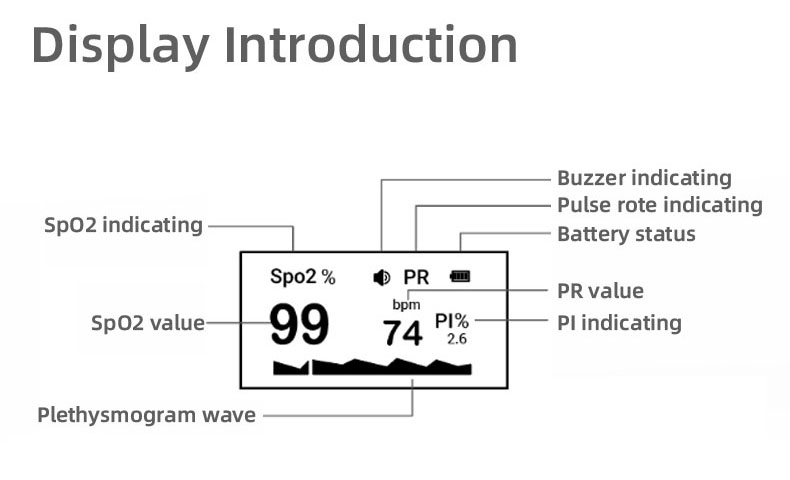
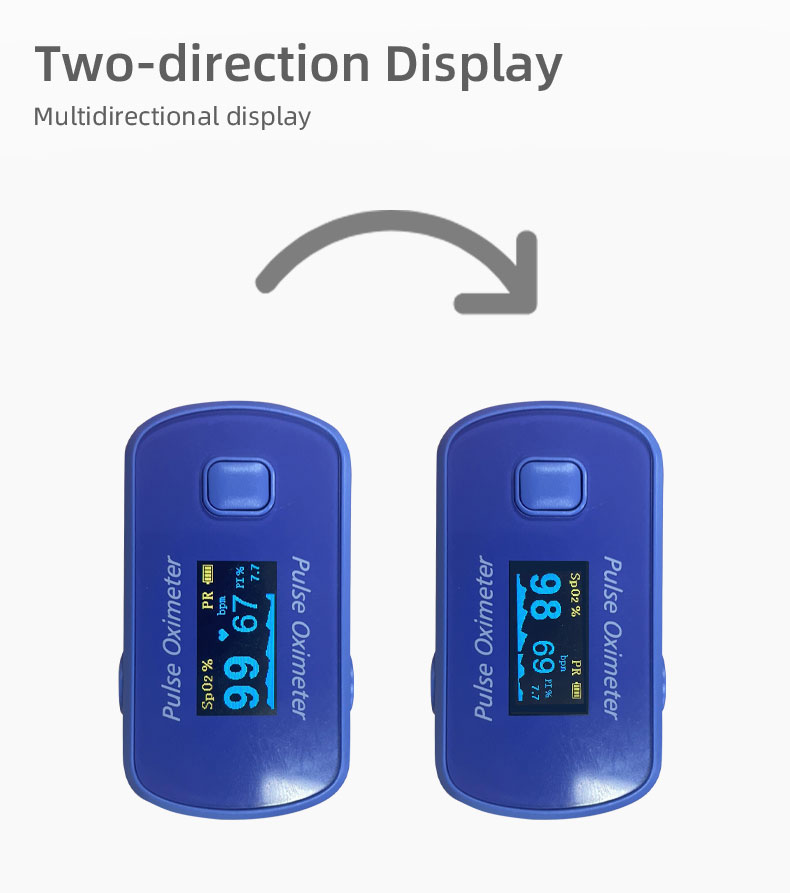
Digital Fingertip Pulse Oximeter with the following characteristics will help you understand the signal on the screen better. And you can also change the display direction by press the button once.
Product Details
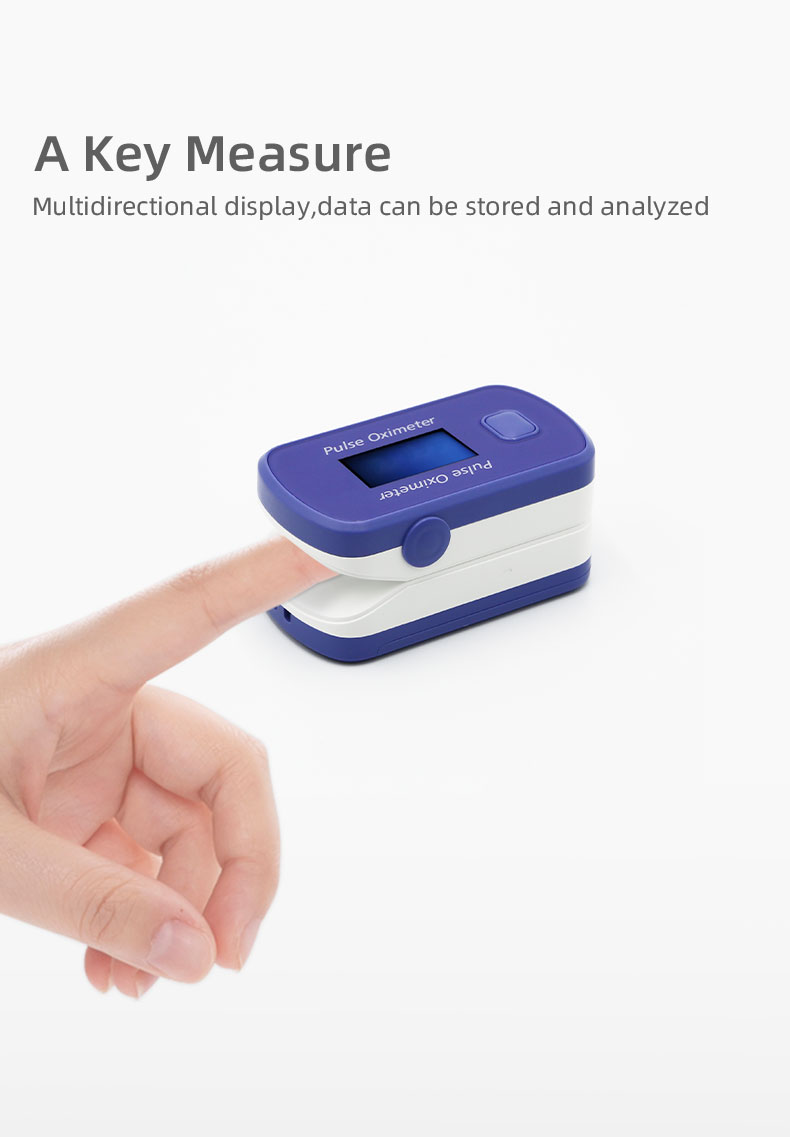
Our digital fingertip pulse oximeter has buzzer which can be turned on or off. Data can be stored and analyzed which will help you observe the health better.

Measuring Steps
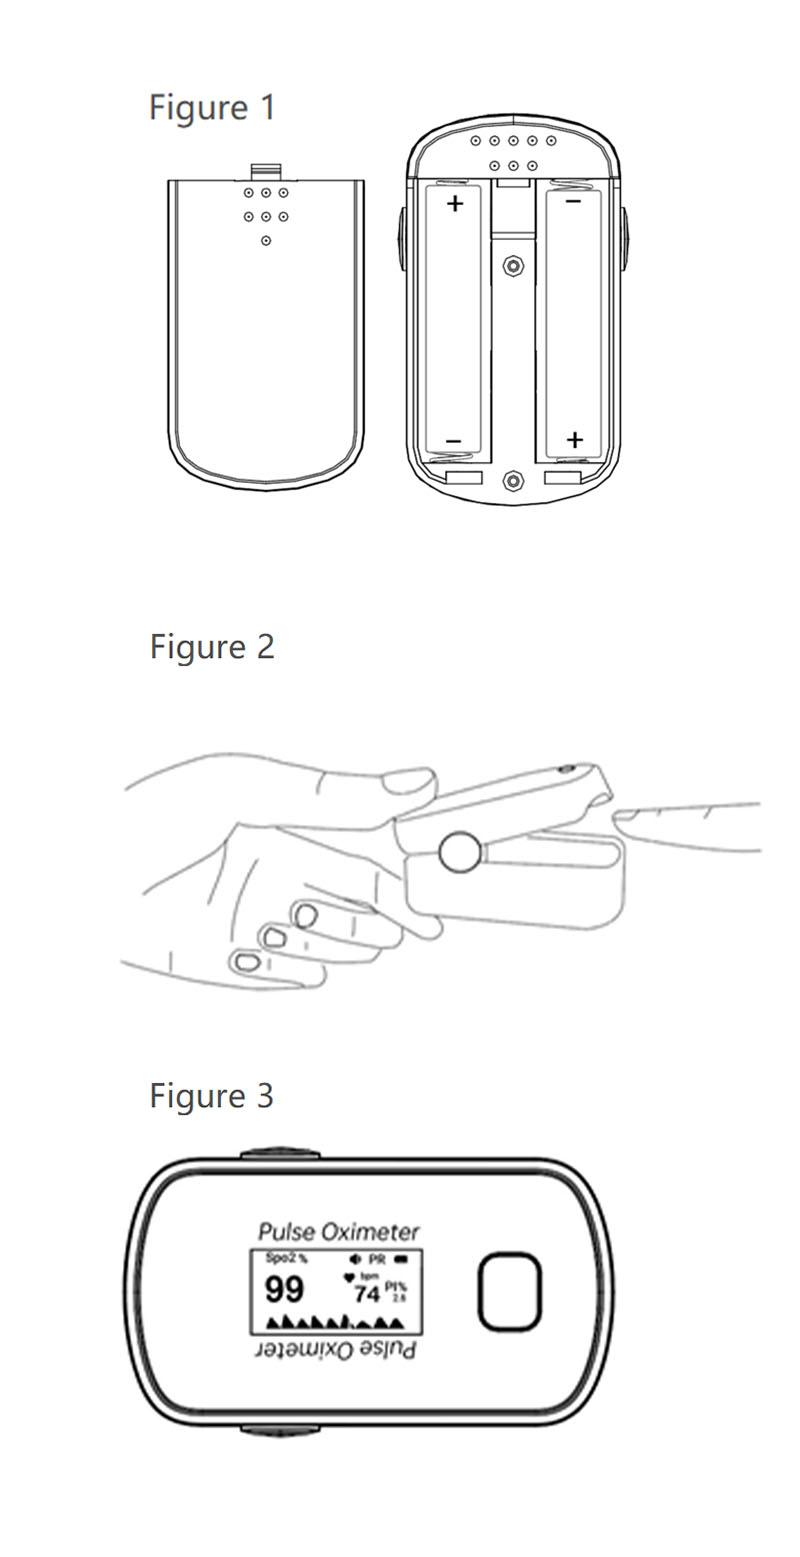
l Hold the product in one hand with the front panel facing the palm. Put the other hand’s big finger on the battery cabinet lids press sign, press downwards and push the lid open at the same time. Install batteries into the slots per the “+” and “-” symbols as shown inFigure1.
Cover the lid onto the cabinet and push it upwards to make it close well.
l Press Clip’s press sign in the figure 1and open the clip. Let the testee’s finger put into the rubber cushions of the clip, make sure the finger is in the right position as shown inFigure2, and then clip the finger.
l Press the power and function switch button on the front panel to turn on the product. Using first finger, middle finger or ring finger when doing test. Don’t shank the finger and keep the testee at case during the process. The readings will be displayed on the screen a moment later as shown inFigure3.
l The positive and negative electrodes of batteries should be installed correctly. Otherwise the device will be damaged.
l When install or remove batteries, please follow the correct operation sequence to operate. Otherwise the battery compartment will be damaged.
l If the pulse oximeter isn’t used for long time, please remove the batteries of it.
l Make sure to place the product on the finger in a correct direction. The LED part of the sensor should be at the backside of the patient hand and photodetector part at the inside. Make sure to insert the finger to suitable depth into the sensor so that the fingernail is just opposite to the light emitted from the sensor.
l Don’t shakethe finger and keep the testee calm during the process.
l Data update period is less than 30 seconds.
Function Description
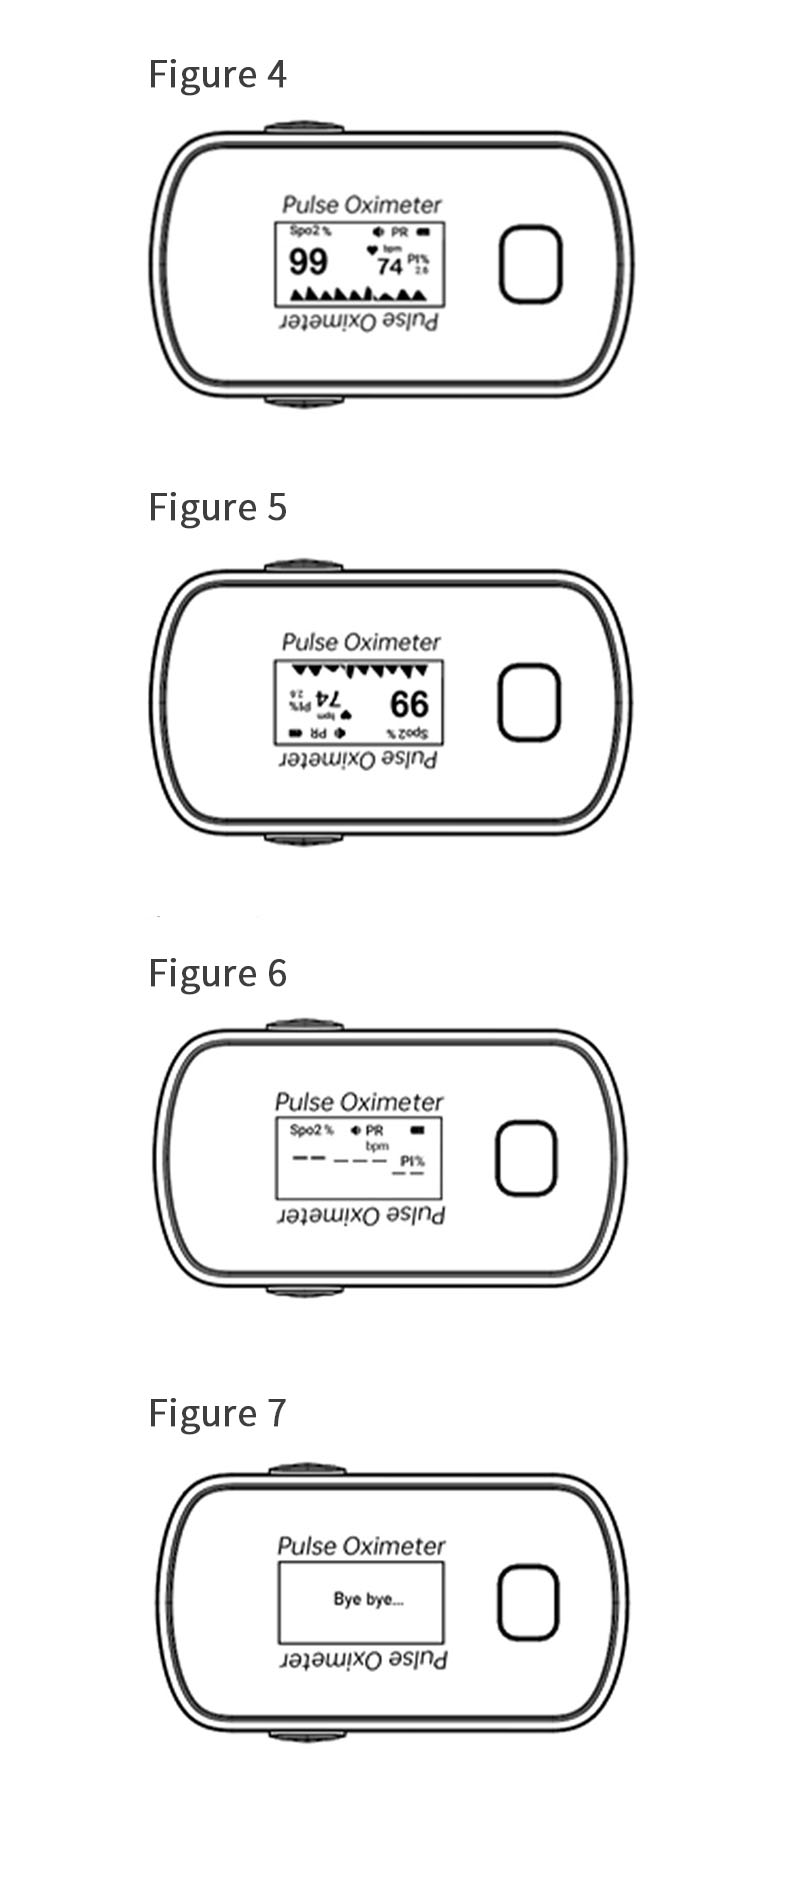
a.When the data has been displayed on the screen, short press the “POWER/FUNCTION” button one time, the display direction will be rotated. (as shown inFigure 4,5)
b.Then short press the “POWER/FUNCTION” button twice, the display direction will be restored to the previous state. And buzzer indicating will disappear at the same time, the buzzer will be turned off.
c.When the received signal is inadequacy, “- - -” will be displayed on the screen. (as shown inFigure6)
d.The product will automatically be powered off when no signal after 10 seconds. (as shown inFigure7)
NOTE:
l Before measuring, the pulse oximeter should be checked whether it is normal, if it is damaged, please don’t use.
l Don’t put the pulse oximeter on extremities with arterial catheter or venous syringe.
l Don’t perform SpO2monitoring and NIBP measurements on the same arm simultaneously. Obstruction of blood flow during NIBP measurements may adversely affect the reading of the SpO2value.
l Don’t use the pulse oximeter to measure patients whose pulse rate is lower than 30bpm, which may cause incorrect results.
l The measurement part should be chosen well perfusion and be able to fully cover the test window of the sensor. Please clean the measurement part before place the pulse oximeter, and ensure drying.
l Cover the sensor with opaque material under the condition of strong light. Failure to do so will result in inaccurate measurement.
l Make sure that there is no contamination and scar on the tested part. Otherwise, the measured result may be incorrect because the signal received by the sensor is affected.
l When used on different patients, the product is prone to crossed contamination, which should be prevented and controlled by the user. Disinfection is recommended before using the product on other patients.
l Incorrect placement of the sensor may affect the accuracy of the measurement, and it is at the same horizontal position with heart, measurement effect is the best.
l The highest temperature of sensor contacts with patient’s skin don’t be allowed more than 41℃.
l Prolonged use or the patient’s condition may require changing the sensor site periodically. Change sensor site and check skin integrity, circulatory status, and correct alignment at least even 2 hours.
Product Qualification
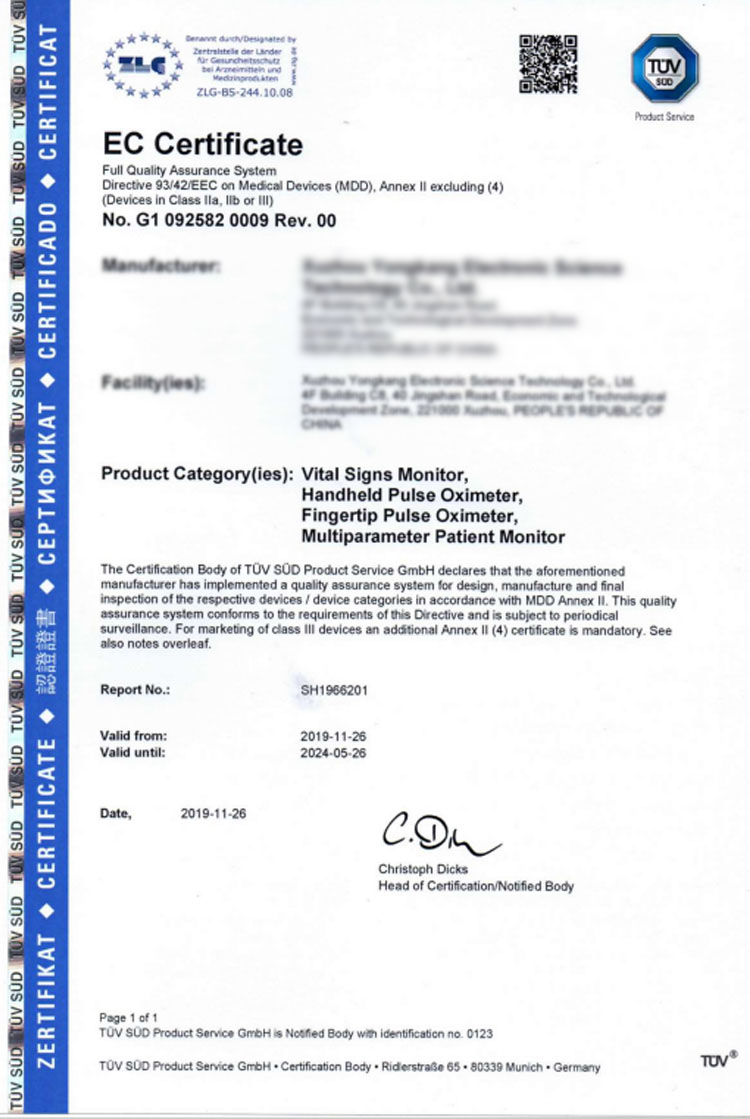
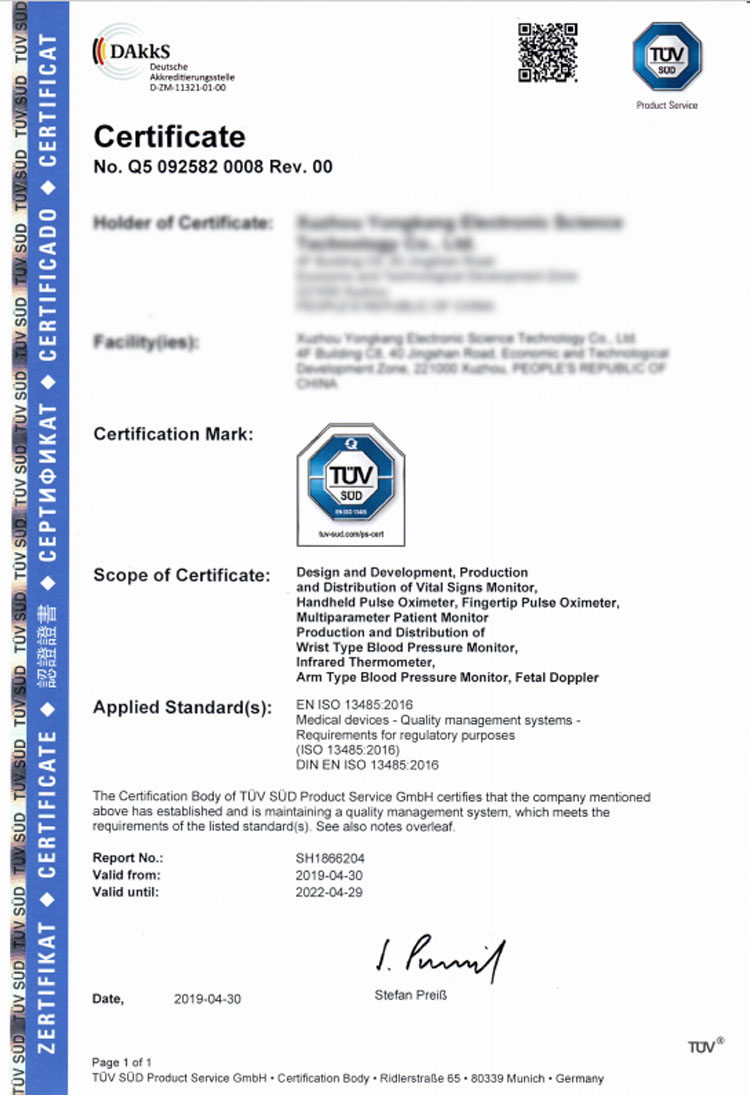
The following is the certificates of Digital Fingertip Pulse Oximeter.
